Sunday, January 23, 2011

Beer Bread = Heaven

We brewed beer today which is always a wonderful delight. This time, instead of letting all the spent grains go to the chickens or the compost pile I decided to make some beer bread with it. The color of the bread is reflective of the type of beer we brewed and therefore the grains we used.
I'm not going to write out a lot here, I'm just going to let the photos speak for themselves.


Can you smell that aroma? The bread fresh out of the oven, warm and topped with butter that melts as soon as it touches it. Are you drooling a little bit? You should be.


The recipe I used said it made 3 loaves of bread. Obviously I adapted it a little and made flowerpot bread. The bread wasn't out of the oven though and we had already eaten well over a loaf's worth of that bread. It was divine.


Fromage Blanc

For our second cheese we decided to make Fromage Blanc, as a friend (thanks Angie!) had given us a package of Fromage Blanc starter.

~the starter packet, with directions~

Fromage Blanc is a soft cheese and is considered an easy cheese for beginners to make. It is French in origin and literally translates to "white cheese." It has the consistency of cream cheese but with a fraction of the calories and cholesterol.*

To Make Fromage Blanc:
Heat 1 gallon of milk to 86 degrees & mix in 1 packet. Let sit at room temperature (72 degrees), undisturbed, for 12 hours or until thickened like yogurt. Gently ladle the curds into a butter muslin lined colander, hang & drain for 6-12 hours. Refrigerate and enjoy!

We followed both the directions on the packet & the directions in Ricki Carroll's Cheese Making book.

Heating the milk went well, as did adding the packet. We covered the pot and moved it to the dining room, near the radiator, to sit overnight. This was about 7:20pm. ~ Our house isn't kept at 72 degrees, we keep it colder. Also, trying to find a place where it can be undisturbed for so many hours can provide a bit of a challenge. (Since this worked well I am now thinking of going and sitting in the dining room near the radiator when I need undisturbed time to myself)

A little after 8am the next day I ladled it all into the colander to drain. Since I don't have butter muslin I used 4 layers of cheesecloth, which seemed to work well. It drained nicely and, as soon as I could, I hung it up to continue.


~hung up & draining~
~a close-up shot of the whey draining off~

In Ricki Carroll's book she states that a shorter draining time will produce a thinner, more spreadable cheese whereas a longer draining time will produce produce a cheese that is more cream cheese like in it's consistency. We let ours drain almost 10 hours, in part because I wanted the cream cheese consistency and in part because of how our day was going .. it just worked out better for us this way.

Adding the herbs.

Of course we couldn't just let it be as it was. It was good, but the temptation was too great. We followed the recipe for "Herbes De Provence Cheese Spread" that is found in the same book. The recipe called for 1 TB herbes de Provence per 1 cup fromage blanc.


As you can see, we got about 2 1/2 cups of cheese out of the gallon of milk.

We added two heaping tablespoons of Herbes De Provence.

It was easy enough to mix by hand, which is always nice to be able to do instead of using the KitchenAid.

This photo is the same as above, just without the flash. You can see the herbs a lot better here though, so I included both.

The Fromage Blanc with herbes de Provence was met to two thumbs up. Always a good sign.

We also decided to add a head of roasted garlic and then a good tablespoon or so of honey.

We took this cheese along with some baguettes to our brewers guild meeting. We came home with only 1/2 the cheese left (and there was a lot of food there!). ~A good sign.


Recipe Score:
Fromage Blanc - our 2nd cheese. Absolutely delicious!! Fresh, herby, tangy, and sweet. The flavor is simple and yet complex. We will definitely make this again! We also look forward to experimenting more with draining times (and how it affects the consistency) along with add-ins. Simply delightful.

PS ~ We used the leftover whey to make ricotta cheese. That'll be the next blog!

LATE EDIT:
So we JUST realized that while we used the entire package, we only used 1/2 a gallon of milk. This is a common thing to goof up on when your milk comes in 1/2 gallon jars. It's easy to visually grab one jar and assume it was one gallon. This might explain why it was extra crumbly. However, it was still friggin' delicious!!! And, that means that we got 2 1/2 cups of cheese out of only a 1/2 gallon of milk!!! We're now looking forward to making it again even more!!!

Monday, January 10, 2011

Real Buttermilk Cheese

Justin and I are in love. Not just with each other, but with cheese. A love affair with cheese is a wonderful thing. And, of course, we can't just leave it at buying cheese. We want cheese made from raw milk. We want to continue our pursuit of being self-sufficient and make our own cheese. So .. we are.

We got the book Home Cheese Making by Ricki Carroll. It is a highly recommended book when you desire to make cheese.

The first recipe we tried was "Real Buttermilk Cheese." This is made using real buttermilk, the product leftover from turning cream into butter, not the buttermilk you buy at the store. Since we had some of this on hand from butter making we decided to give it a whirl. Here is how it went.


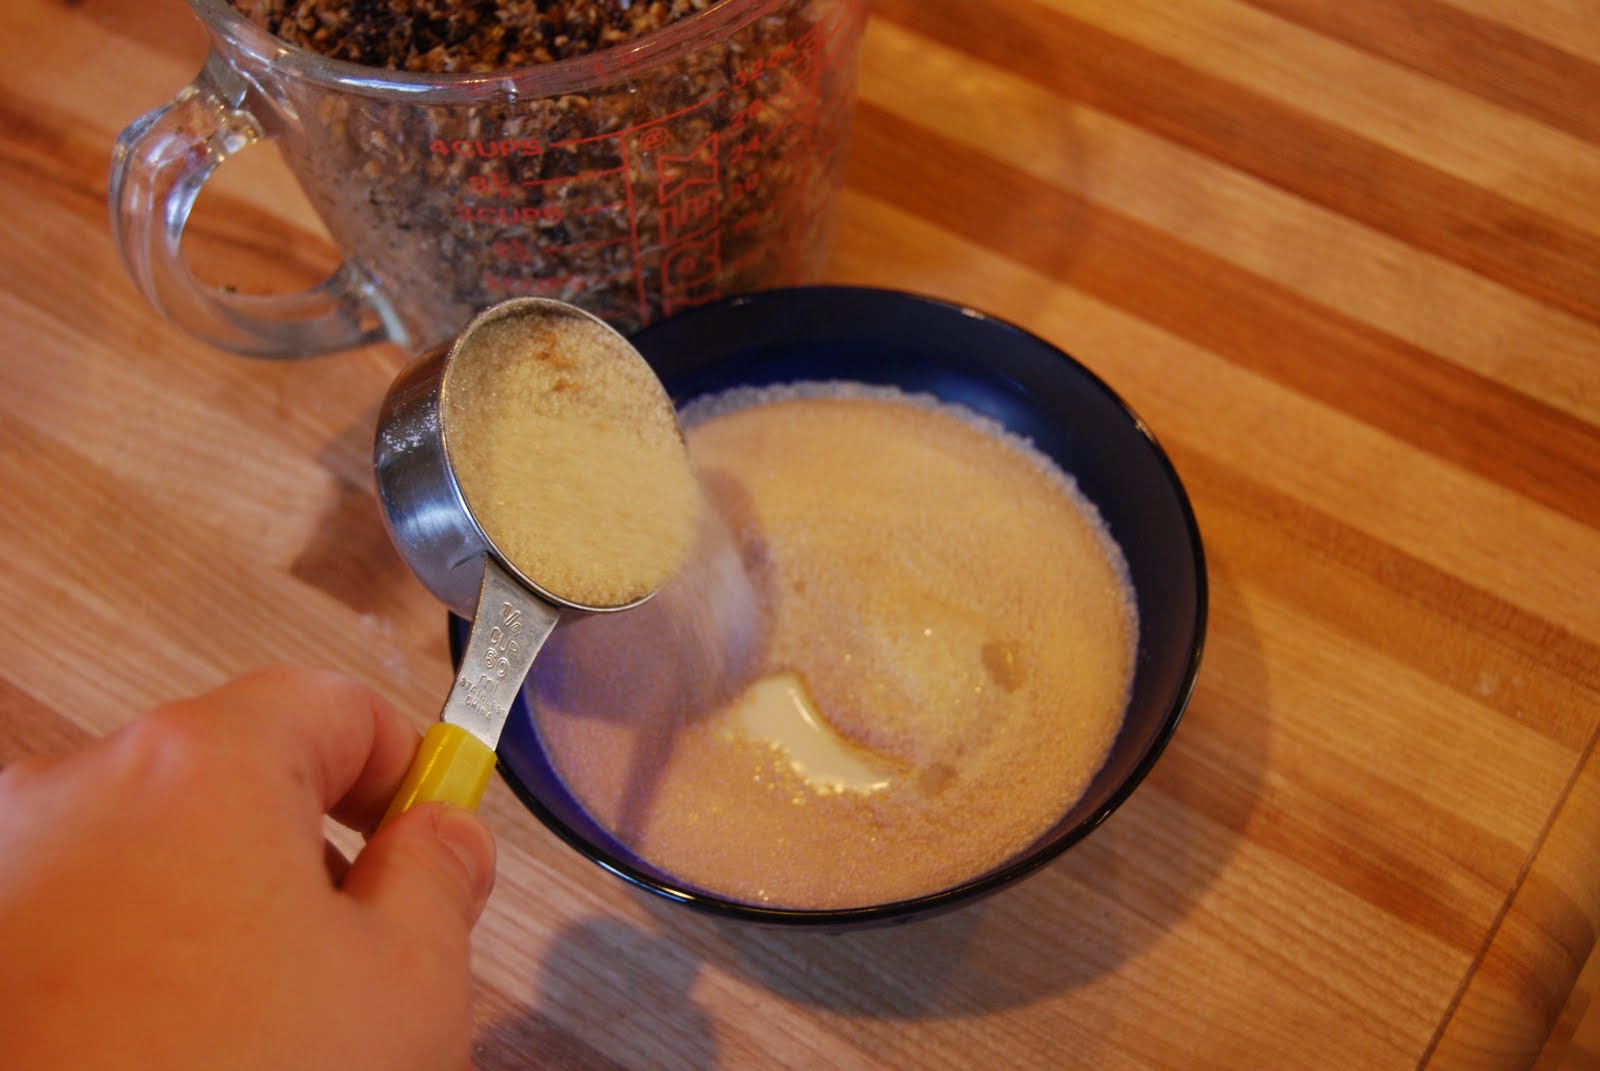
It began with a little over 3 cups of real buttermilk. The recipe called for 1 gallon, but we used what we had and decided we'd be ok with less cheese as a result.

On the left, the buttermilk heating up on the stove-top. On the right, cheesecloth over the colander, which is sitting inside a bowl.

So, the recipe says to heat the buttermilk to between 160 degrees, at which point it will separate into curds and whey. If it fails to do so, heat it to 180 degrees.
The recipe had also advised setting the buttermilk out at 72 degrees for 24 hours to sour it some, but said that this step was optional. Since we had already let it sit out once (after it was made) we used the buttermilk straight from the fridge.


Where things began to go wrong.

The buttermilk didn't separate out into curds and whey. I began to wonder what the hell curds and whey even looked like because all I could keep thinking of was Miss Muffett and that damn spider. I came up with a rhyme of my own:

Little Miss Dreadie
sat oh so ready
waiting on curds and whey ..

Here is my first photo of the buttermilk once it had reached it proper temperature.


See how it just has skin on it?? This is all it would do.


I decided to let it cool down then reheat it. I did this a couple of times and all I got was skin.

I was taking notes as I went. Here they are:

This is taking a long time and I am beginning to doubt curds will form. It's been over 10 minutes and I've just got hot buttermilk.

2:27 - heated it back up to 180 and decided to then cover & turn off heat as we have an errand to run. It began boiling on me. I'm worried. But it is covered and the heat is off and we'll see what it looks like after my errand.

4:30 - No change. Heated it back up and got same results. Finally decided to add 1tsp rennet diluted in 1/8 cup water.

4:50 - Hanging it to drain. ~ 1 gallon was supposed to make 1 1/2 lbs. I used 1/4 gallon, so this might actually be the results I was supposed to get. That's a lotta friggin' whey leftover!

This was all I was able to get as far as any notion of "curds" go. I broke down and added rennet, which shouldn't have been needed since this was cow's milk and not goat's.

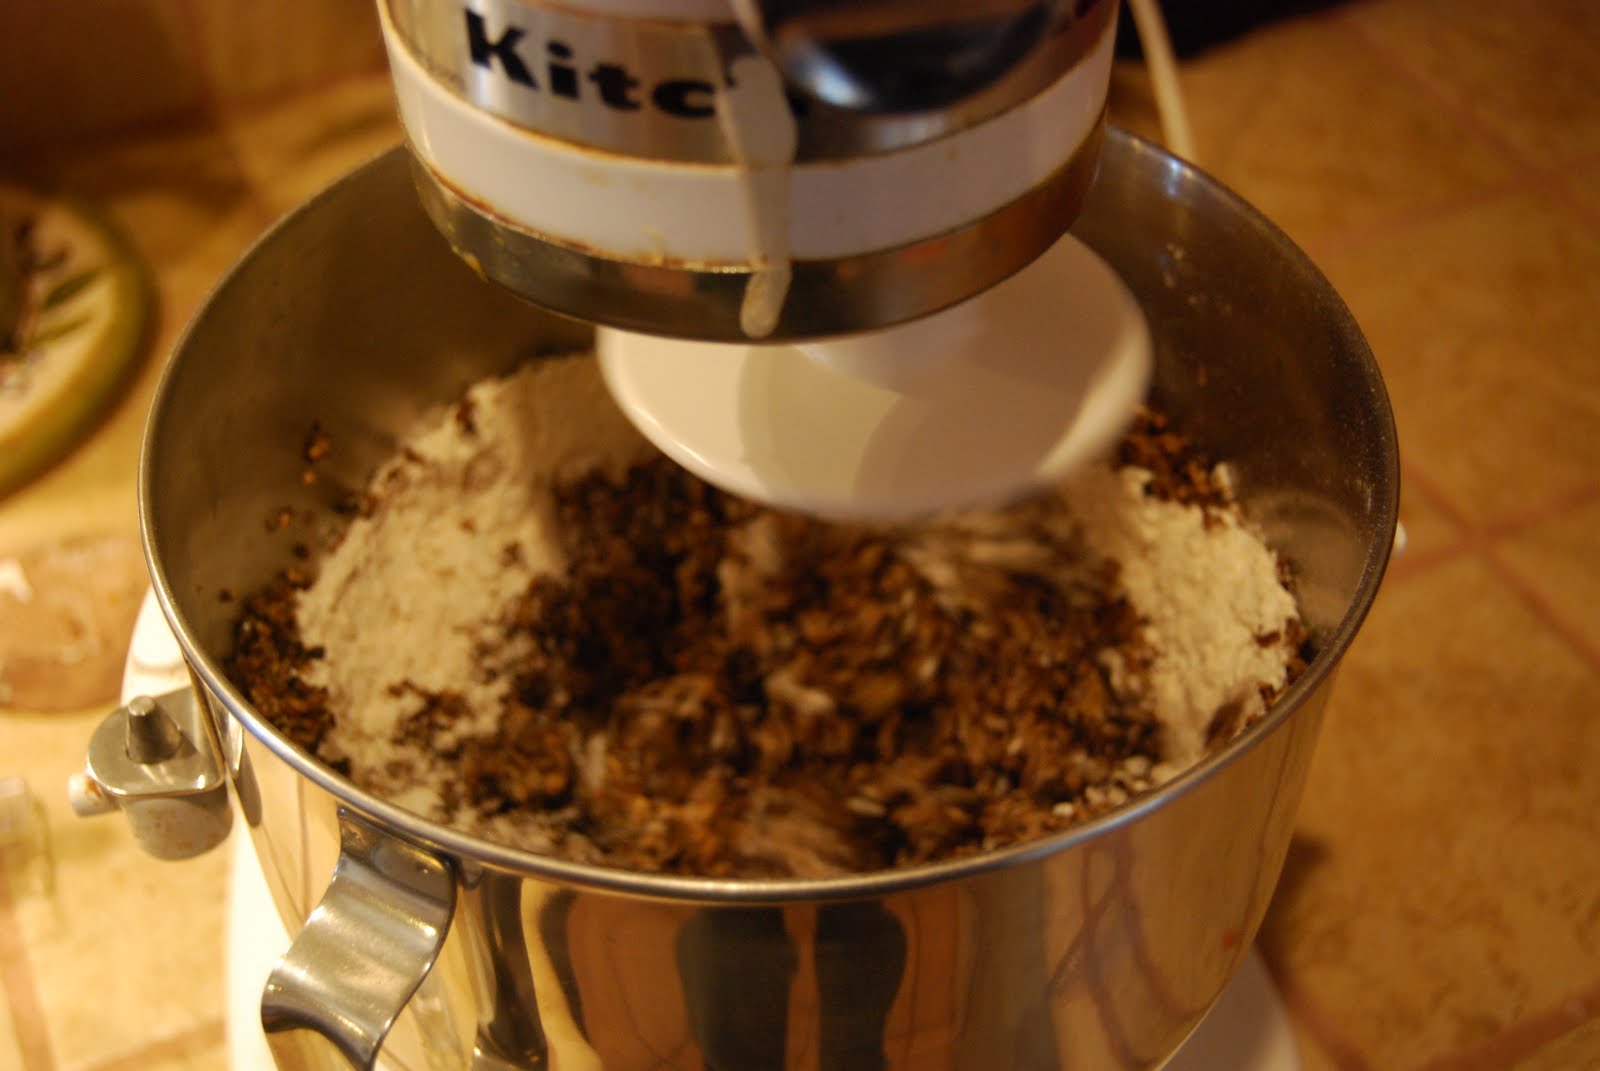
So, I drained it through and then hung it up. I usually have a basket hanging from a hook over my KitchenAid but I took it down and hung this up. It worked really well actually.


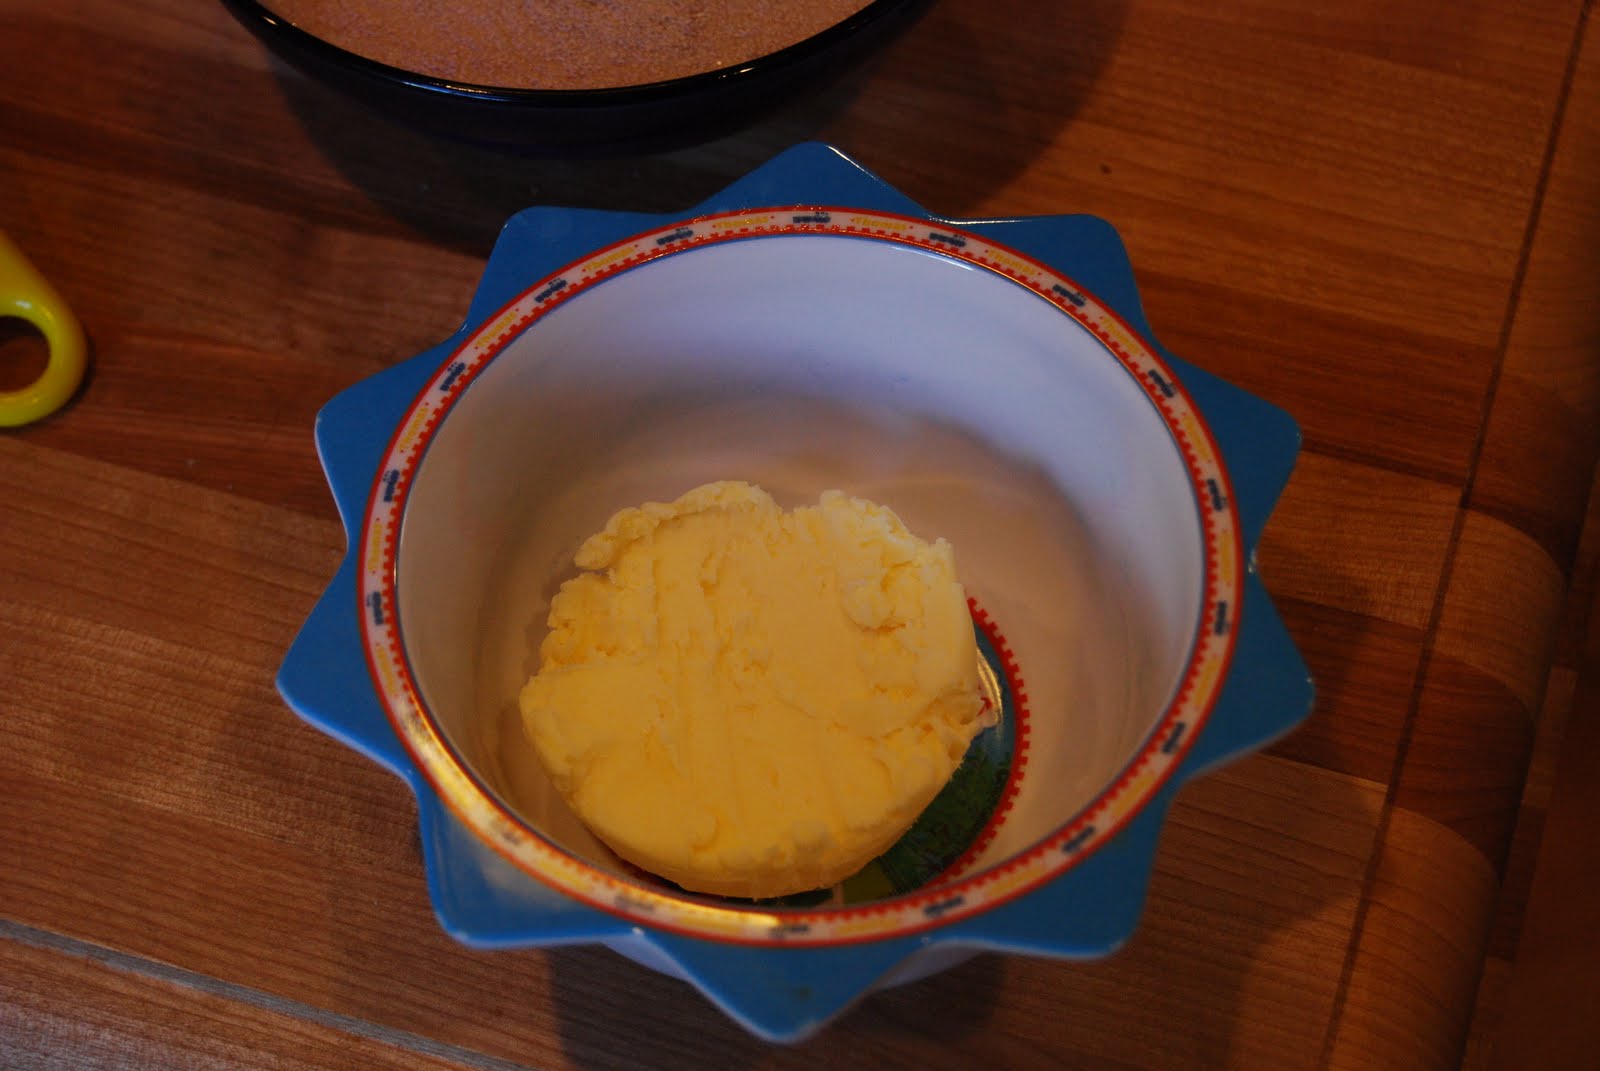
After letting it hang for 4 hours, this is what I got. You can see the container is a tiny one, but of course I only used 3 cups of buttermilk, so whaddya expect??

The "cheese" has the consistency of cottage cheese. The house had begun to smell like cooked milk so it's taken me until today (I made this on Saturday) to try and taste it without immediately tasting cooked milk. However .. it still tastes like cooked milk to me.

Perhaps if we had added herbs or honey or something like that it would taste better. But that will have to wait until next time.

Recipe Score:
Real Buttermilk Cheese - 1st attempt - Going to the chickens.